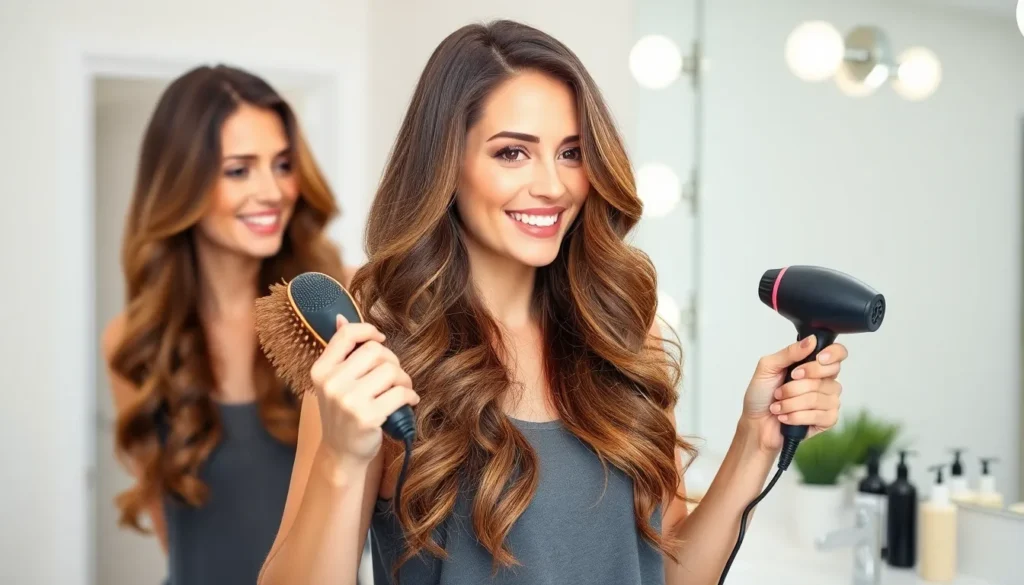
We’ve all experienced that frustrating moment when our hair just won’t cooperate, leaving us wondering why professional blowouts look so effortlessly perfect. The secret isn’t just expensive tools or salon-grade products – it’s mastering the right techniques that transform your everyday routine into a game-changing experience.
Blow drying your hair properly can dramatically reduce styling time while creating volume, shine, and that coveted salon-fresh look we all crave. Whether you’re dealing with frizzy curls, flat fine hair, or stubborn waves, understanding the fundamentals of heat styling will revolutionize your daily routine.
We’re here to break down everything you need to know about achieving professional-quality results from the comfort of your own home. From choosing the right tools to mastering essential techniques, you’ll discover how to turn your blow dryer into your most powerful styling weapon.
Choose the Right Hair Dryer for Your Hair Type
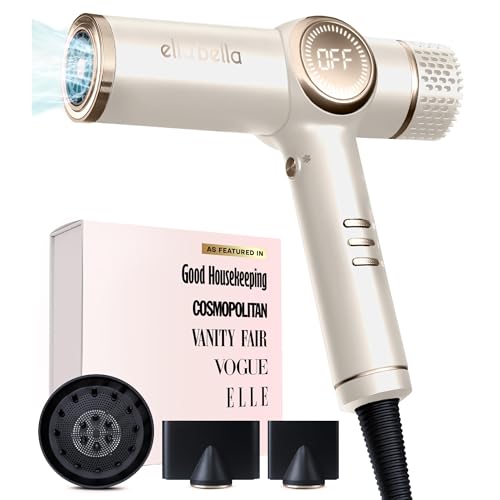
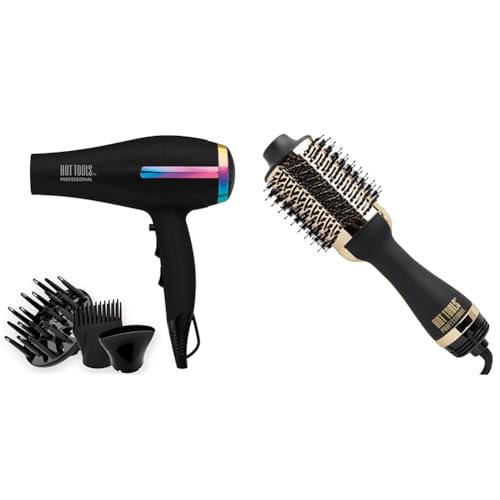
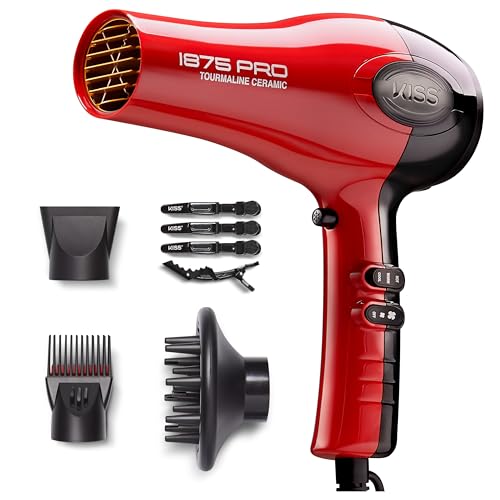
Finding the perfect blow dryer makes all the difference between amateur styling and professional results. We’ll guide you through selecting a dryer that complements your unique hair characteristics and delivers consistent, salon-quality outcomes.
Consider Your Hair Texture and Thickness
Fine hair requires gentle, low-heat settings to prevent damage and maintain natural volume. We recommend lightweight dryers with multiple heat and speed options that won’t overwhelm delicate strands. Ceramic or tourmaline technology works best for this hair type since it distributes heat evenly without creating hot spots.
Thick hair needs powerful motors and high wattage to penetrate multiple layers effectively. Dryers with 1800+ watts provide sufficient airflow to reduce drying time and prevent heat damage from prolonged exposure. Professional-grade models with concentrator nozzles help focus airflow exactly where you need it.
Curly hair benefits from diffuser attachments that preserve natural texture while reducing frizz. We suggest dryers with multiple heat settings and cool shot buttons to lock in curl patterns. Ionic technology helps smooth the hair cuticle and enhances your natural curl definition.
Look for Ionic and Ceramic Technology
Ionic technology generates negative ions that break down water molecules for faster drying times. This feature reduces static electricity and creates smoother, shinier results by sealing the hair cuticle. We’ve found ionic dryers particularly effective for thick or coarse hair that typically takes longer to dry.
Ceramic heating elements produce infrared heat that penetrates hair gently from the inside out. This technology prevents overheating and maintains consistent temperatures throughout your styling session. Ceramic dryers work exceptionally well for damaged or chemically treated hair that requires extra protection.
Tourmaline coating combines the benefits of both ionic and ceramic technologies. Dryers featuring this semi-precious stone coating emit six times more negative ions than standard ionic models. We recommend tourmaline dryers for anyone seeking professional results with minimal heat damage.
Select Appropriate Wattage and Heat Settings
Wattage determines your dryer’s power and directly affects drying speed and efficiency. We suggest 1300-1600 watts for fine to medium hair and 1800+ watts for thick or long hair. Higher wattage doesn’t always mean better results if your hair type can’t handle the intensity.
Variable heat settings provide crucial control over your styling process. Low heat (200-250°F) works best for fine or damaged hair, while medium heat (250-300°F) suits normal hair types. High heat settings (300°F+) should only be used on thick, healthy hair that can withstand intense temperatures.
Cool shot buttons are essential for setting your style and adding shine to finished looks. This feature blasts cold air to close hair cuticles and lock in your blow dry results. We always finish our styling sessions with a cool shot to maximize hold and minimize frizz throughout the day.


Prepare Your Hair Before You Blow Dry

Proper preparation makes all the difference between a mediocre blowout and a salon quality finish. We’ll walk you through the essential steps that professional stylists use to set the foundation for perfect results.
Wash and Condition with Heat Protective Products
Start by selecting a shampoo specifically formulated for your hair type to create the ideal base for heat styling. Focus the shampoo on your scalp and roots where oil buildup occurs most frequently. Rinse thoroughly with lukewarm water to prevent stripping your hair’s natural moisture.
Apply conditioner from mid length to ends, avoiding the roots to prevent weighing down your style. Leave the conditioner on for 2 to 3 minutes to allow the protective ingredients to penetrate your hair shaft. Choose products that contain ingredients like argan oil, keratin, or ceramides for added heat protection during the blow drying process.
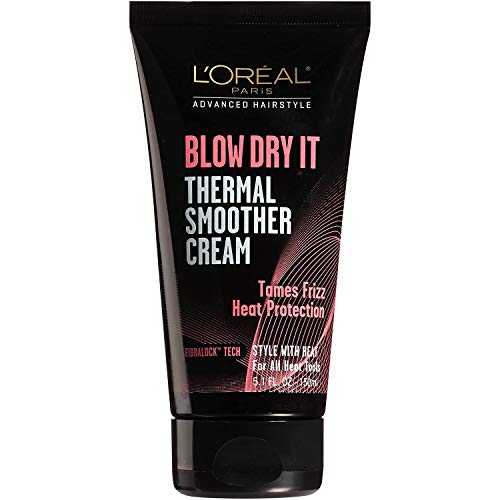
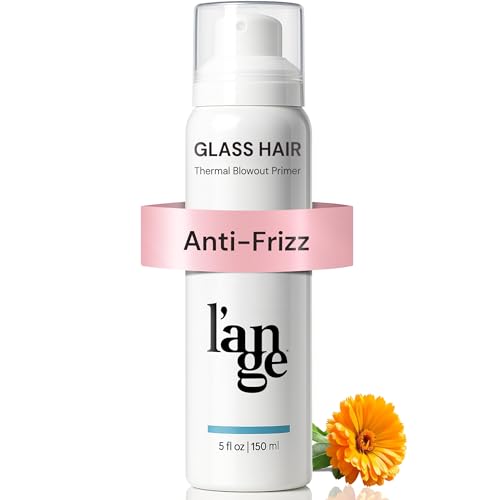
Apply Thermal Protection Spray
Spray thermal protection products onto damp hair immediately after towel drying for maximum absorption. Hold the bottle 6 to 8 inches away from your hair and distribute the product evenly from roots to ends. Focus extra attention on the ends of your hair since they’re the oldest and most vulnerable to heat damage.
Work the product through your strands with your fingers or a wide tooth comb to ensure complete coverage. Quality heat protectants create a barrier that can withstand temperatures up to 450°F while maintaining your hair’s moisture balance. Wait 30 seconds before beginning the blow drying process to allow the product to set properly.
Gently Towel Dry to Remove Excess Moisture
Pat your hair with a microfiber towel or cotton t-shirt instead of traditional terry cloth towels to minimize friction and frizz. Squeeze sections of hair gently within the towel rather than rubbing vigorously back and forth. Start at the roots and work your way down to the ends using gentle pressing motions.
Remove approximately 60 to 70 percent of the moisture through towel drying to reduce your blow drying time significantly. Avoid wrapping your hair tightly in a towel for extended periods as this can create unwanted kinks and creases. Your hair should feel damp but not dripping wet when you’re ready to begin blow drying.


Section Your Hair for Optimal Results

Proper sectioning creates the foundation for professional blow dry results. We’ll achieve even heat distribution and better styling control with systematic hair division.
Divide Hair into Manageable Sections
Creating 4-6 sections works best for most hair types and lengths. We start by making a horizontal part from ear to ear, separating the top half from the bottom. Next, we divide the top section vertically down the middle, creating two upper sections. The bottom section gets split into two or three parts depending on hair thickness.
Fine hair requires 3-4 smaller sections to prevent over-manipulation. We keep sections thin enough that we can see through them when held up to the light. This allows heat to penetrate evenly without creating hot spots that damage delicate strands.
Thick hair needs 6-8 sections for thorough drying. We make additional horizontal parts to create thinner layers that our dryer can handle effectively. Each section should be no thicker than one inch to ensure complete moisture removal.
Use Hair Clips to Keep Sections Separated
Metal clips provide the strongest hold for sectioning during blow drying. We secure each divided section with clips that won’t slip or fall out during the styling process. These clips withstand heat better than plastic alternatives and keep sections neat throughout our blowout.
Positioning clips away from our work area prevents tangles and burns. We place clips on the crown of our head or along the sides, keeping them clear of the section we’re currently drying. This technique allows free movement of our brush and dryer without interference.
Duck bill clips work particularly well for fine to medium hair textures. We can easily release and reclip sections as needed without disturbing our progress. These clips grip hair securely without leaving dents or marks in our finished style.
Start with the Bottom Layers First
Beginning with lower sections ensures complete drying from roots to ends. We work on the nape area first, where hair tends to be thickest and takes longest to dry. This bottom up approach prevents upper layers from falling onto wet sections and disrupting our work.
Releasing one section at a time maintains organization throughout the process. We focus our full attention on each individual section before moving to the next. This method produces more consistent results than trying to dry multiple sections simultaneously.
Working upward allows us to build volume naturally as we progress. Each completed lower section supports the sections above it, creating lift and body throughout our hairstyle. We finish with the top crown section, which requires the most attention for achieving our desired shape and movement.


Master the Proper Blow Drying Technique

Now that we’ve prepared our hair and sectioned it properly, it’s time to execute the actual blow drying technique that’ll transform your damp hair into a salon-worthy style.
Hold the Dryer at the Correct Distance
Positioning your blow dryer 6 to 8 inches away from your scalp prevents heat damage while ensuring effective drying. We recommend maintaining this distance throughout the entire process to avoid overheating any single area of your hair. Moving the dryer too close creates excessive heat concentration that can cause breakage, while holding it too far away reduces drying efficiency and prolongs styling time.
Testing the heat by briefly placing your hand near your scalp helps you gauge the proper distance. Adjust your position based on your hair’s thickness and your dryer’s heat settings. Fine hair requires slightly more distance to prevent damage, while thick hair can tolerate closer positioning for better heat penetration.
Use a Round Brush for Volume and Smoothness
Round brushes create the lift and smoothness that distinguish professional blowouts from amateur attempts. We suggest using a medium-sized barrel (1.5 to 2 inches) for most hair lengths, as this size provides optimal tension without creating overly tight curls. Ceramic or boar bristle brushes work exceptionally well because they distribute heat evenly and grip hair without pulling.
Wrapping each section around the brush while applying tension creates volume at the roots and smooth ends. Start by placing the brush under the hair section near the roots, then roll it down toward the ends while following with your dryer. This technique stretches the hair cuticle and eliminates frizz while building natural-looking volume.
Direct Airflow from Root to Tip
Blowing air in the direction of hair growth smooths the cuticle and creates maximum shine in your finished style. We always direct the airflow downward along the hair shaft, starting at the roots and moving toward the ends in one continuous motion. This technique seals the hair cuticle flat against the strand, which reflects light and creates that glossy finish we see in professional salons.
Avoiding upward airflow prevents frizz and maintains the smooth texture you’re working to achieve. Focus the nozzle attachment on the section you’re currently styling, keeping steady movement to prevent hot spots. Each section should receive consistent airflow from root to tip until it’s completely dry and smooth.

Control Heat and Speed Settings Effectively

Mastering heat and speed controls transforms your blow dry hair routine from amateur to professional quality. We’ll explore strategic temperature and airflow adjustments that protect hair while delivering salon-worthy results.
Start with High Heat and Finish with Cool Air
Begin your blow drying session with medium to high heat settings to efficiently remove moisture from wet strands. High heat accelerates the drying process and helps shape hair into your desired style while the cuticles remain pliable.
Switch to cool air during the final 30 seconds of each section to lock in your style. Cool air seals the hair cuticle and creates lasting hold that prevents your blowout from falling flat throughout the day. This temperature transition technique mirrors professional salon methods and significantly extends style longevity.
Apply the cool shot button immediately after releasing each section from your round brush. The sudden temperature change sets the hair’s new shape and adds brilliant shine by smoothing down lifted cuticles.
Adjust Speed Based on Hair Section Size
Use high speed settings when working with larger sections at the crown and back of your head. Higher airflow moves through thick sections more efficiently and reduces overall drying time while maintaining even heat distribution.
Reduce speed to medium or low when handling smaller sections around your face and neckline. Slower airflow provides better control for detailed styling and prevents fine pieces from tangling around your brush.
Fine tune your speed based on hair density within each section. Dense areas benefit from maximum airflow while sparse sections require gentler speeds to avoid over-drying and damage.
Use Lower Heat for Damaged or Fine Hair
Set your dryer to low or medium heat when working with chemically treated hair including colored, permed, or relaxed strands. Damaged hair loses moisture faster and requires gentler temperatures to prevent further weakening of the hair shaft.
Fine hair types need low heat settings regardless of chemical processing since thin strands heat up quickly and can become brittle. Medium heat provides sufficient drying power without compromising hair health or causing breakage.
Monitor your hair’s response during the first few sections and adjust temperature accordingly. Signs of excessive heat include immediate tangling, static electricity, or hair that feels rough to the touch.


Finish with the Right Products and Techniques

The final steps in our blow dry routine make the difference between a good style and a salon-quality finish. These finishing touches enhance shine, lock in our style, and ensure smooth results that last throughout the day.
Apply Hair Serum or Oil for Shine
Apply a small amount of hair serum or lightweight oil to damp hair before blow drying to create a protective barrier that enhances natural shine. We recommend using argan oil or keratin-based serums on the mid-lengths and ends, avoiding the roots to prevent weighing down our hair. Distribute the product evenly using our fingers or a wide-tooth comb to ensure every strand receives coverage. Choose formulas specifically designed for heat styling since these products contain ingredients that activate under heat to smooth the hair cuticle. For fine hair, we suggest using just 2-3 drops of lightweight serum, while thick or coarse hair can handle up to a full pump of product.
Use Cool Shot Setting to Lock in Style
Activate the cool shot button on our dryer during the final 30 seconds of each section to set our style and add lasting shine to our blowout. We position the dryer 4-6 inches away from our hair while using this setting to avoid disrupting our styled sections. Direct the cool air from root to tip while maintaining tension with our brush to smooth the cuticle and eliminate any remaining frizz. This technique works particularly well on the top sections where we want maximum volume and shine. Hold each section taut for 10-15 seconds under the cool air before releasing to ensure our style sets properly and maintains its shape throughout the day.
Brush Through for Final Smoothing
Run a natural bristle brush or wide-tooth comb through our completely dry hair to blend all sections and create a seamless finish. We start at the ends and work our way up to avoid creating tangles or disrupting our freshly styled hair. Use gentle downward strokes to maintain the smooth direction of our cuticles and enhance the overall shine of our blowout. Focus on areas where sections meet to ensure there aren’t any visible lines or uneven textures. Apply a light finishing spray if desired while brushing to add extra hold and protect against humidity throughout the day.


Conclusion
Mastering the art of blow drying transforms your daily hair routine from frustrating to fabulous. We’ve covered everything from selecting the perfect dryer for your hair type to executing professional techniques that deliver salon-worthy results.
Remember that consistency is key – the more you practice these methods the more natural they’ll become. Your hair will thank you for the gentle yet effective approach we’ve outlined.
With the right tools preparation and technique you’re now equipped to achieve stunning blowouts from the comfort of your own home. Say goodbye to bad hair days and hello to gorgeous voluminous locks that last all day long.
Frequently Asked Questions
What’s the secret to achieving professional-looking blowouts at home?
The key to salon-quality blowouts isn’t expensive tools, but mastering proper techniques. Focus on using the right blow-drying methods, selecting appropriate tools for your hair type, and following essential preparation steps. Proper technique can significantly reduce styling time while enhancing volume and shine, giving you professional results without the salon price tag.
How do I choose the right hair dryer for my hair type?
For fine hair, choose lightweight dryers with low-heat settings and ceramic or tourmaline technology. Thick hair needs high-wattage dryers that can handle multiple layers effectively. Curly hair benefits from dryers with diffusers and ionic technology to maintain texture and reduce frizz. The right dryer makes a significant difference in achieving professional results.
What preparation steps are essential before blow drying?
Start by washing and conditioning with products suited to your hair type. Apply thermal protection spray to damp hair to prevent heat damage. Gently towel dry to remove excess moisture without roughing up the cuticles. These preparation steps create a solid foundation for blow drying and lead to significantly better results.
How should I section my hair for blow drying?
Divide your hair into 4-6 manageable sections using metal clips to keep hair organized and prevent tangles. This ensures even heat distribution and better styling control. For fine hair, use smaller sections; for thick hair, slightly larger sections work best. Always start with bottom layers first to build volume naturally.
What’s the proper blow drying technique?
Hold the dryer 6-8 inches from your scalp to prevent heat damage. Use a round brush to add volume and smoothness, wrapping hair around the brush while applying gentle tension. Direct airflow from root to tip to smooth the cuticle and enhance shine. Maintain consistent airflow to avoid frizz and achieve even results.
How do I control heat and speed settings effectively?
Start with medium to high heat to remove moisture efficiently, then switch to cool air for the final 30 seconds to lock in style and add shine. Use high speed for larger sections and lower speed for finer areas. Always use lower heat settings for damaged or fine hair to prevent further weakening.
What finishing touches make a blowout look salon-quality?
Apply a small amount of hair serum or lightweight oil to damp hair before drying for enhanced shine and heat protection. Use the cool shot setting during final moments to lock in style. Finish by brushing through with a natural bristle brush or wide-tooth comb for a seamless, polished look that lasts all day.