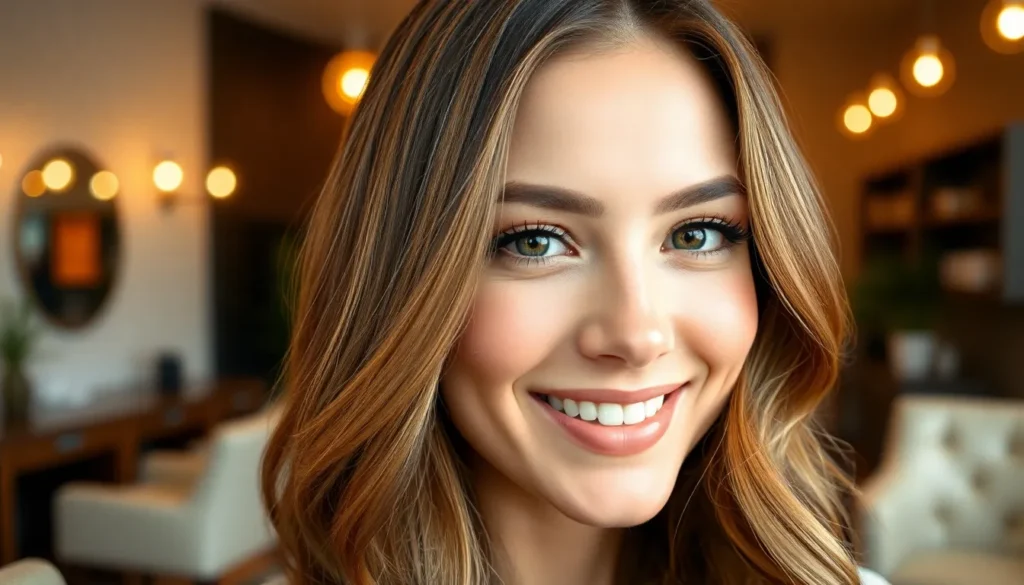
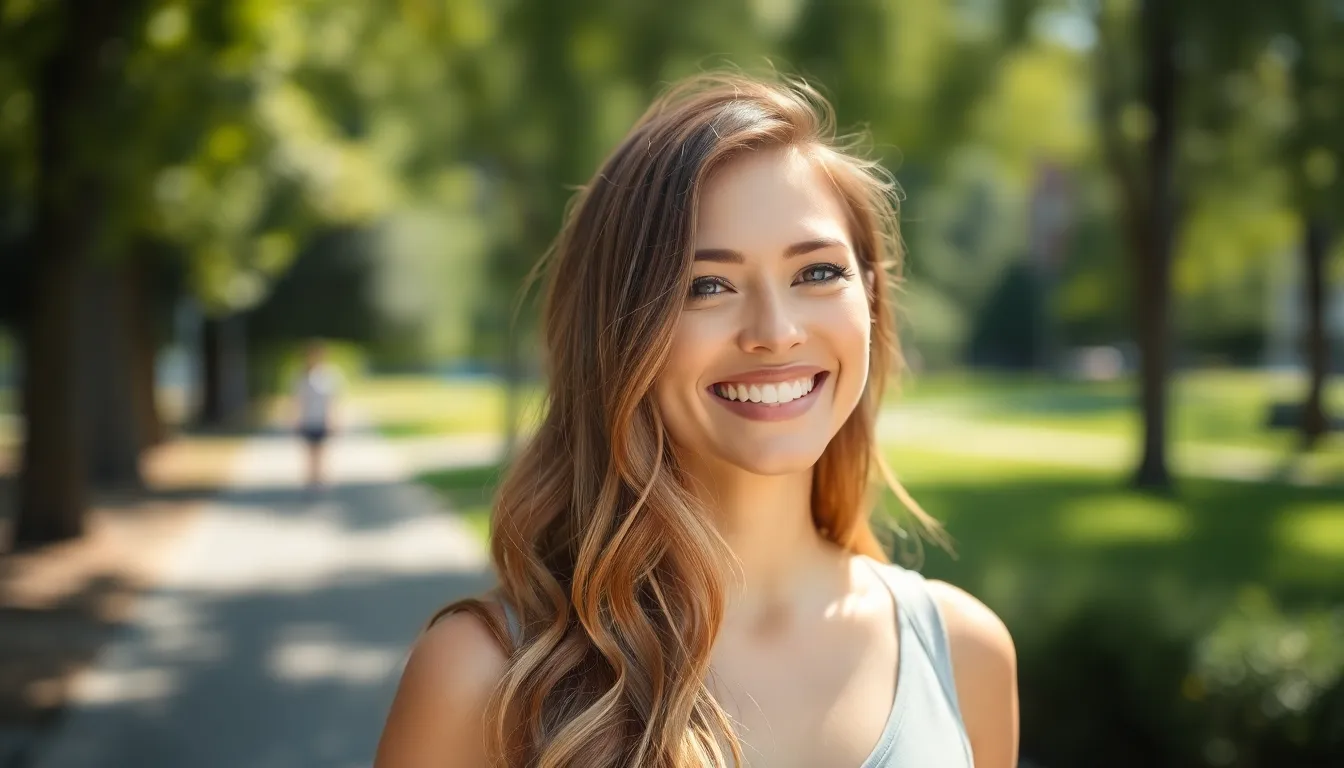
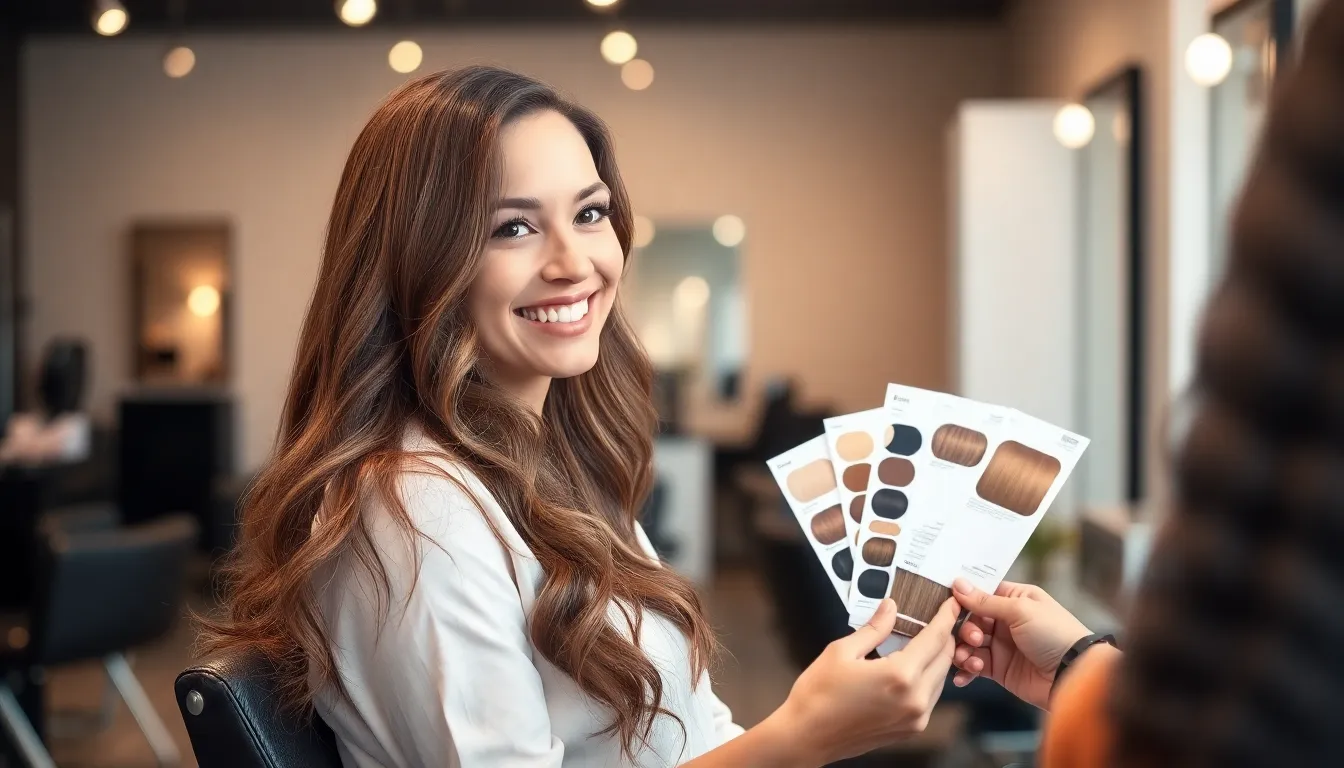
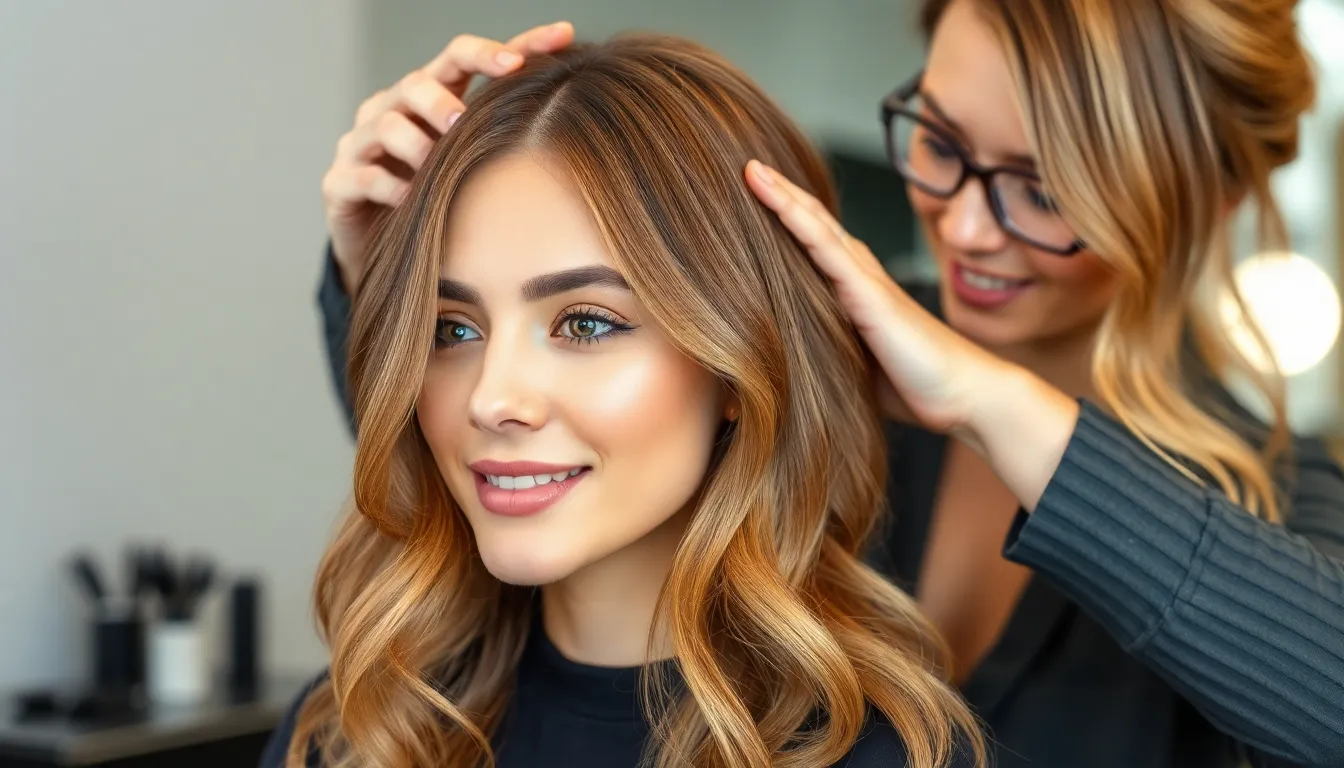
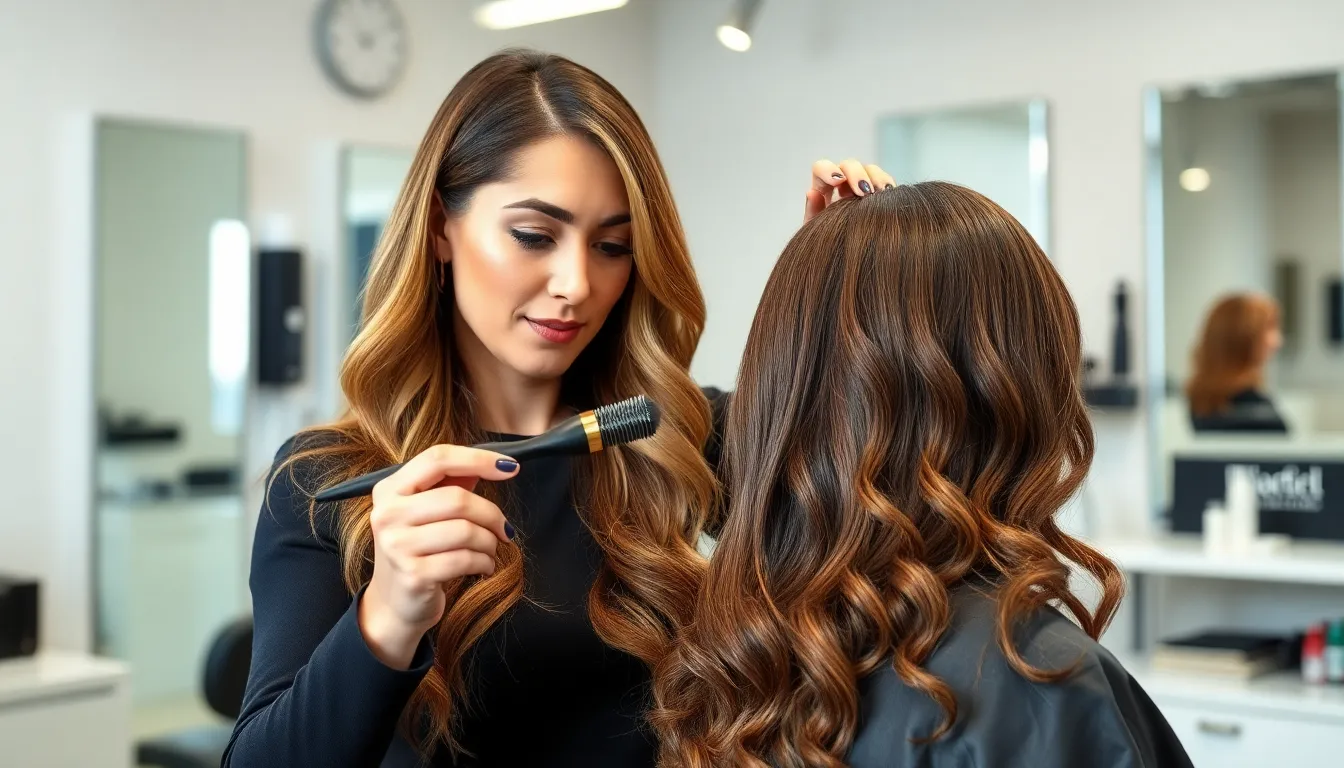
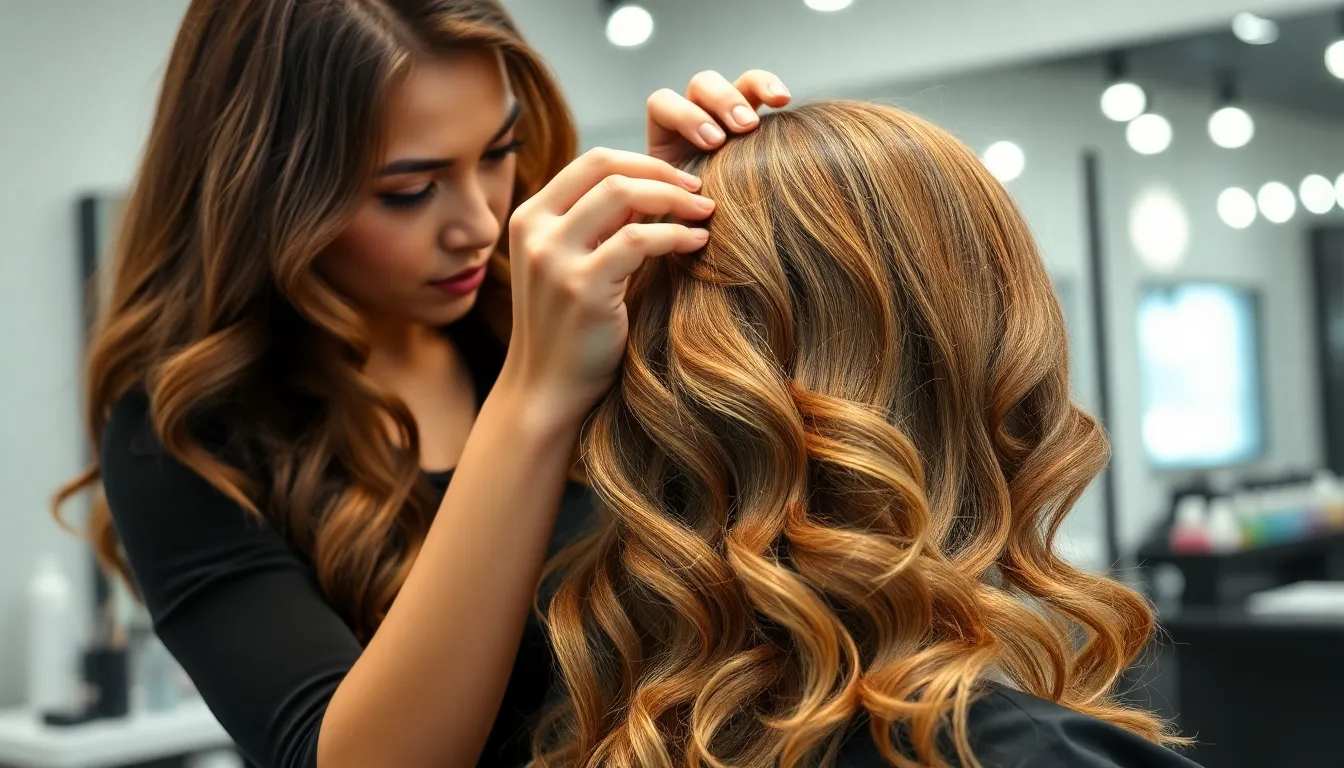
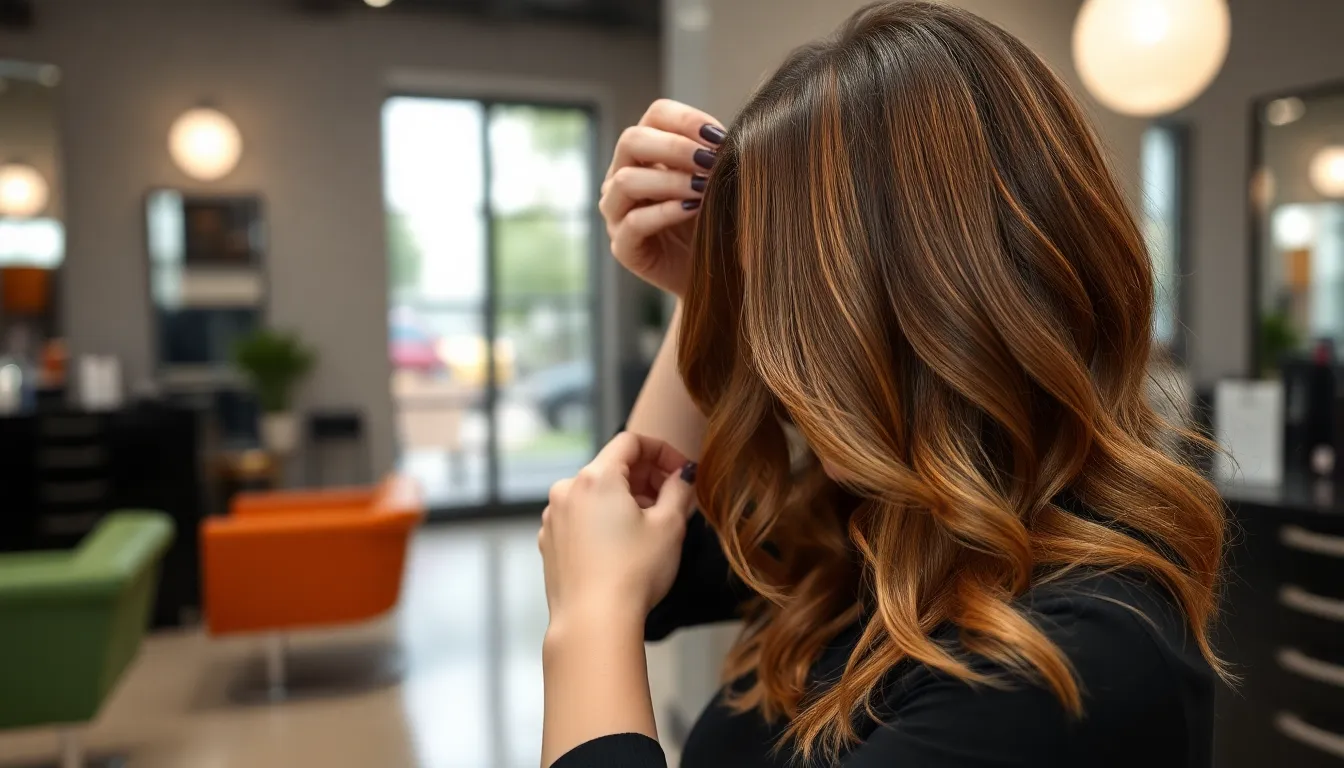
Caramel balayage has become the go-to hair color technique that’s taking salons by storm and transforming ordinary hair into stunning masterpieces. This sun-kissed highlighting method creates those coveted golden-brown tones that look effortlessly natural while adding incredible depth and dimension to any base color.
We’ve all seen celebrities rocking this gorgeous hair trend – from subtle caramel ribbons to bold honey highlights that catch the light beautifully. What makes caramel balayage so irresistible is its versatility and low-maintenance appeal that works on virtually every hair type and skin tone.
Whether you’re brunette looking to brighten up your look or a blonde wanting to add warmth and richness, caramel balayage offers the perfect solution. The hand-painted technique ensures no two looks are identical while creating that coveted lived-in color that grows out gracefully. Ready to discover why this trending hair color technique might be exactly what your hair’s been craving?
What Is Caramel Balayage and Why It’s Trending
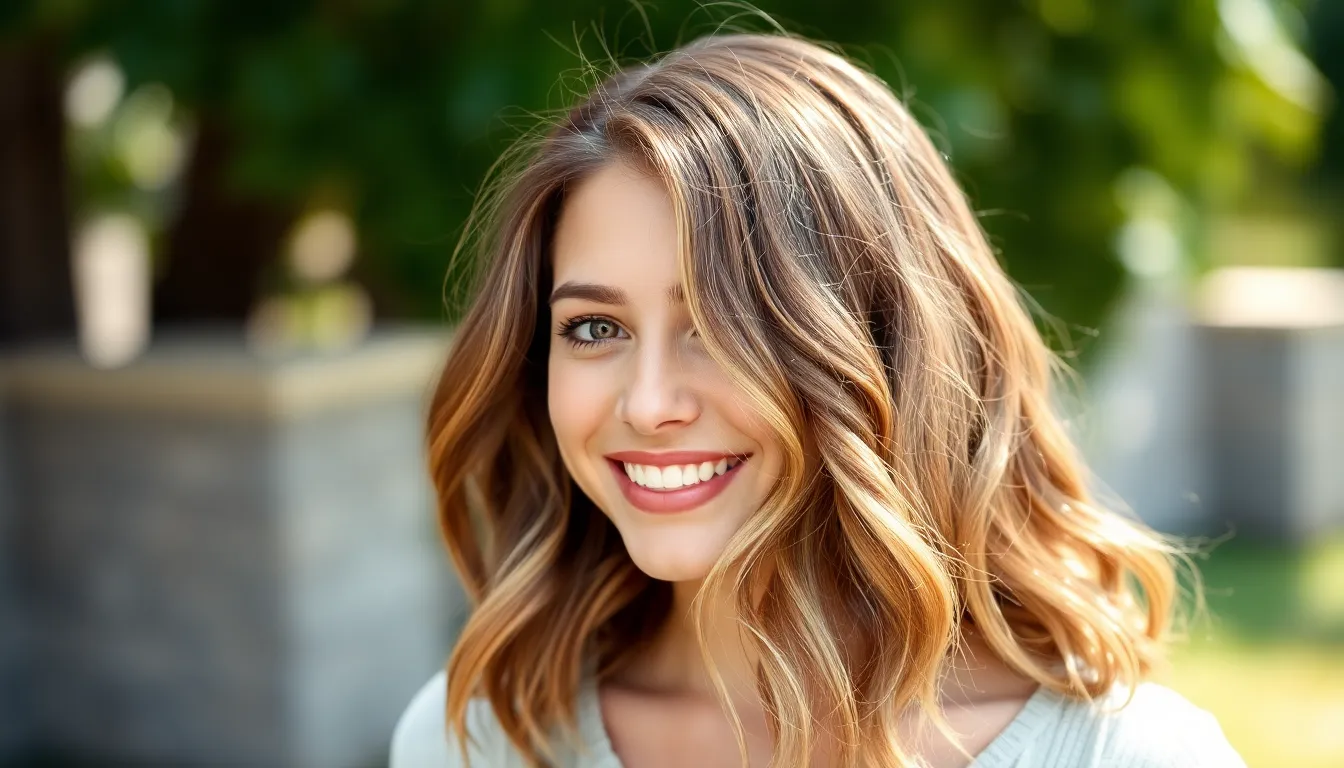
Caramel balayage combines the artistry of hand-painted highlights with the warmth of golden-brown hues. This technique creates natural-looking dimension that mimics how the sun would naturally lighten your hair.
Understanding the Balayage Technique
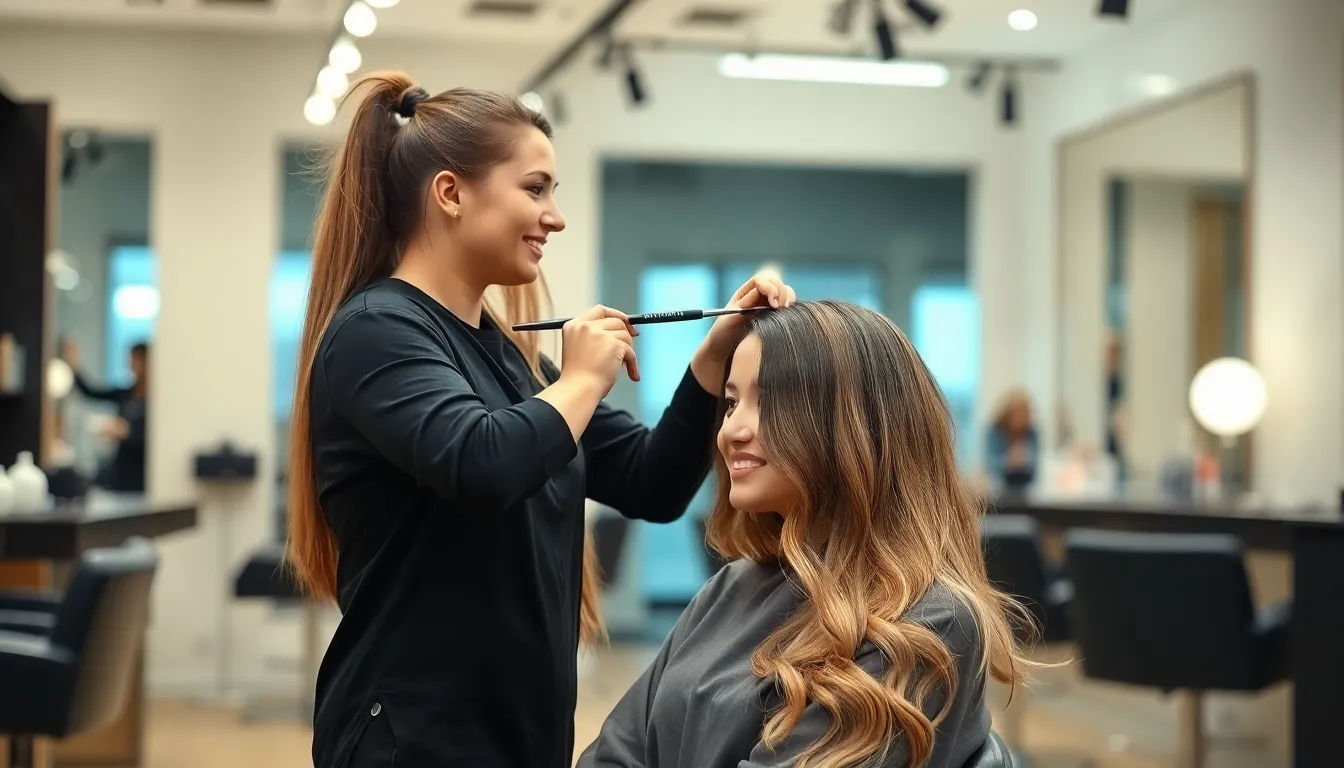
Balayage involves painting color directly onto sections of hair without using traditional foils or caps. Stylists use a sweeping motion to apply lightener from mid-length to ends, creating a gradient effect that looks effortlessly blended. The hand-painted application allows for complete customization based on your hair’s natural fall and movement.
Unlike traditional highlighting methods, balayage doesn’t follow a uniform pattern. Each stroke is strategically placed to enhance your hair’s natural texture and shape. The technique originated in France during the 1970s and has evolved into one of today’s most requested coloring services.
Professional colorists can adjust the placement and intensity to complement your face shape and lifestyle. The freehand approach means no two balayage applications look identical, giving you a truly personalized result.
The Appeal of Caramel Tones
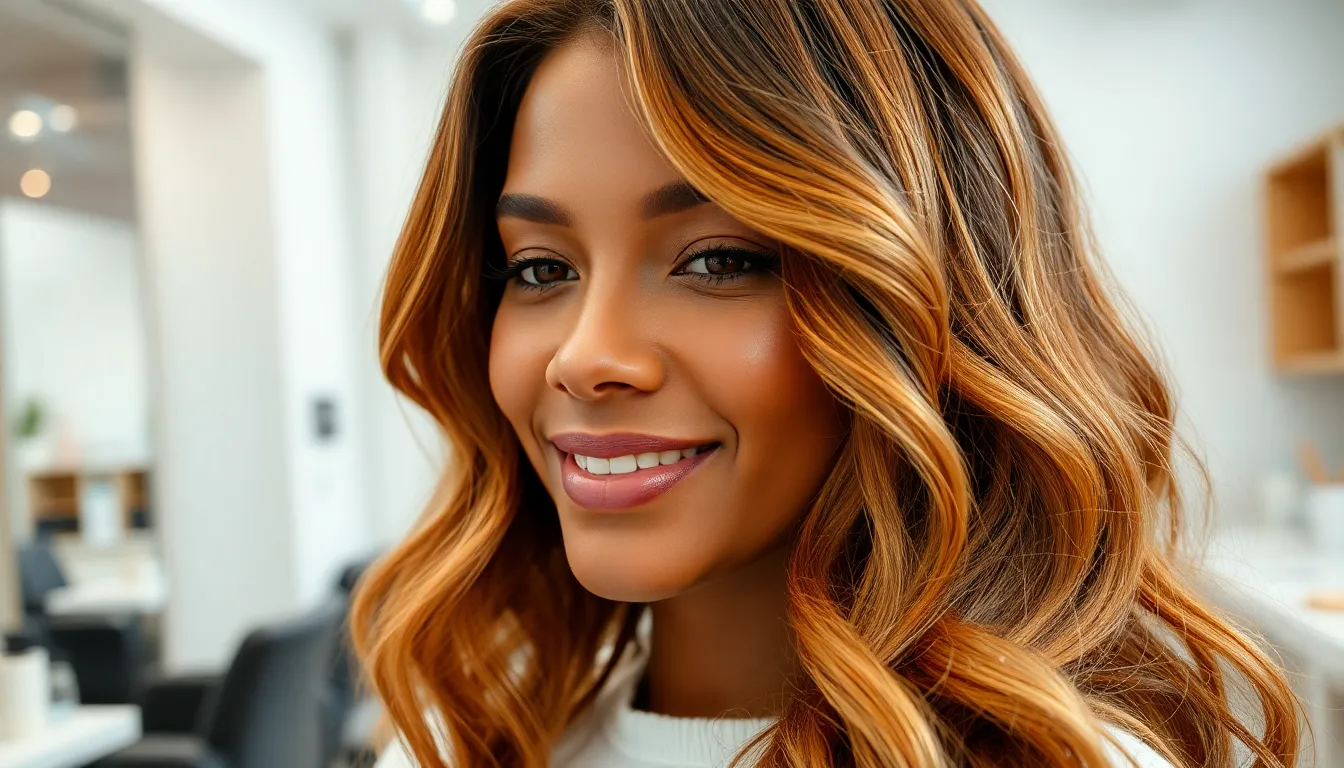
Caramel shades offer the perfect balance between blonde and brunette, making them universally flattering across different skin tones. These warm golden-brown hues add richness to dark hair while providing depth to lighter bases. The color family includes variations from light butterscotch to deep toffee, allowing for endless customization.
Warm undertones in caramel balayage complement both cool and warm skin tones effectively. The color adds instant warmth to your complexion and works beautifully with natural eye colors like brown, hazel, and green. Many clients choose caramel because it brightens their overall appearance without the maintenance requirements of platinum blonde.
The trending appeal stems from caramel’s ability to look natural yet polished. Social media influences have showcased how these tones photograph beautifully in various lighting conditions. The color also transitions seamlessly through seasons, making it a versatile choice for year-round wear.
Choose the Right Shade of Caramel for Your Skin Tone
Selecting the perfect caramel shade creates a harmonious balance that enhances your natural beauty. We’ll guide you through matching your skin’s undertones with the ideal caramel variation for stunning results.
Warm Caramel for Warm Undertones
Golden caramel shades complement skin with yellow, peach, or olive undertones beautifully. We recommend honey caramel or butterscotch tones for those with warm complexions, as these hues enhance the natural glow in your skin. Celebrities like Jennifer Lopez and Blake Lively showcase these rich, warm caramel variations that bring out golden undertones.
Rich amber caramel works exceptionally well on warm skin tones because it mirrors the natural warmth already present in your complexion. We suggest testing your undertones by looking at your wrist veins – green veins typically indicate warm undertones that pair perfectly with golden caramel shades.
Copper caramel offers another stunning option for warm skin tones, providing depth while maintaining that sun-kissed appearance. We find this shade particularly flattering on those with hazel or brown eyes, creating a cohesive warm color palette.
Cool Caramel for Cool Undertones
Ashy caramel tones enhance pink, red, or blue undertones in your skin tone perfectly. We recommend choosing caramel shades with subtle gray or beige undertones rather than golden ones to complement cool complexions. Cool caramel creates a sophisticated contrast that prevents the hair color from clashing with your natural undertones.
Taupe caramel provides an excellent choice for cool skin tones, offering warmth without overwhelming pink or red undertones. We’ve seen this shade transform clients with cool complexions, creating dimension while maintaining harmony with their natural coloring.
Mushroom caramel works beautifully on fair to medium cool skin tones, providing a muted warmth that doesn’t compete with natural coolness. We particularly recommend this shade for those with blue or gray eyes, as it creates a striking yet balanced appearance.
Neutral Caramel for Balanced Complexions
Classic caramel suits neutral undertones that contain both warm and cool elements in perfect balance. We find this traditional caramel shade works universally well because it doesn’t lean heavily toward either warm or cool tones. Neutral complexions have the flexibility to experiment with various caramel depths and intensities.
Medium caramel provides the ideal starting point for those with balanced undertones, offering versatility for future color adjustments. We often recommend this shade as a first caramel balayage experience because it enhances most skin tones without dramatic contrast.
Versatile caramel allows for seasonal adjustments, letting you add warmer tones in summer or cooler elements in winter. We suggest consulting with your colorist to determine which direction works best with your lifestyle and preferences while maintaining that flattering neutral balance.
Prepare Your Hair for the Perfect Caramel Balayage
Achieving stunning caramel balayage results requires proper preparation to ensure your hair can handle the coloring process. We’ll guide you through essential steps that professional colorists use to maximize your caramel transformation.
Assess Your Current Hair Color and Condition
Evaluate your starting point by examining your natural hair color and any previous chemical treatments. Dark brunette hair typically requires more lightening sessions to achieve vibrant caramel tones, while lighter brown bases can often reach desired results in a single appointment.
Document your hair’s processing history including recent dyes, bleaches, perms, or relaxers from the past six months. Chemical treatments create overlapping layers that affect how new color penetrates your strands, potentially leading to uneven results or breakage.
Test your hair’s porosity by dropping a clean strand into water and observing how quickly it sinks. High porosity hair absorbs color rapidly but may fade faster, while low porosity requires longer processing times to achieve caramel saturation.
Check for signs of damage such as split ends, brittleness, or excessive dryness that could worsen during the lightening process. Severely compromised hair should undergo repair treatments before attempting caramel balayage to prevent further deterioration.
Pre-Treatment Steps for Healthy Results
Schedule a consultation with your colorist at least one week before your appointment to discuss realistic expectations and timeline requirements. Professional assessment ensures your caramel goals align with your hair’s current condition and natural undertones.
Begin deep conditioning treatments two weeks before your balayage session using protein and moisture masks alternately. Weekly treatments strengthen hair fibers and create a protective barrier against chemical processing damage.
Avoid washing your hair for 24 to 48 hours before your appointment to allow natural oils to build up on your scalp. These protective oils act as a barrier during the lightening process, reducing scalp irritation and chemical burns.
Trim damaged ends approximately one week before coloring to remove split ends that could travel up the hair shaft during processing. Fresh cuts also showcase your new caramel tones more effectively by eliminating dull, damaged portions.
Stop using clarifying shampoos and heat styling tools three days before your appointment to prevent additional dryness. Gentle sulfate free shampoos maintain moisture balance while preparing your hair for the transformation ahead.
Master the Application Process for Caramel Balayage
Now that you’ve prepared your hair properly, we’ll walk through the essential techniques that create those coveted caramel highlights. Professional application methods make the difference between amateur-looking streaks and that natural, sun-kissed caramel finish you’re after.
Sectioning Techniques for Natural-Looking Highlights
Triangle sectioning creates the most natural caramel balayage pattern because it mimics how sunlight naturally hits your hair. We recommend starting with a horseshoe section from ear to ear, securing the top portion with clips while working on lower layers first.
Diagonal partings work better than straight horizontal sections for seamless caramel placement. Your colorist should angle each section between 45 to 60 degrees, creating a zigzag pattern that prevents harsh lines from forming as your hair grows out.
Varying section sizes throughout the application process ensures dimensional results that look authentic. Thicker sections near your face frame your features beautifully, while thinner sections toward the back create subtle depth without overwhelming your base color.
Random placement patterns prevent the striped effect that can occur with traditional foil highlights. We suggest selecting every third or fourth section in an irregular pattern, leaving some natural base color between each caramel painted area.
Painting Methods for Seamless Color Blend
Feathering the caramel color onto each section creates those soft, gradual transitions you see in professional results. Start painting about two inches from your roots, using light upward strokes that gradually fade into your natural color.
Saturating the mid-lengths and ends more heavily than the root area produces that natural lightening effect. Your colorist should apply the caramel mixture generously to these areas since they’ve been exposed to more environmental damage and lift color more easily.
Blending techniques using a clean brush help soften any harsh edges after the initial application. We recommend gently brushing through each painted section to create seamless transitions between your natural base and the new caramel tones.
Back-combing certain sections before painting creates additional texture and prevents flat, uniform results. This technique works particularly well for fine hair that needs extra dimension and movement in the final caramel balayage look.
Layered application methods involve painting some sections with lighter caramel shades and others with deeper golden tones. This multi-tonal approach creates the complex color depth that makes caramel balayage so visually striking and natural looking.
Style Your Caramel Balayage for Maximum Impact
Styling your caramel balayage correctly elevates the dimensional effect and showcases every golden highlight. We’ll explore both heat styling techniques and effortless options that work with your lifestyle.
Heat Styling Tips to Enhance Dimension
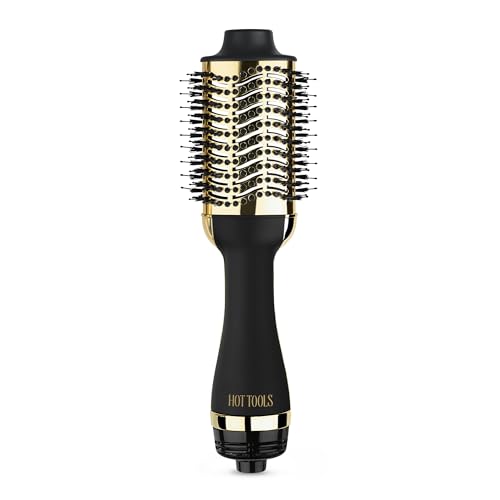
Create loose waves using a 1.5-inch curling iron to emphasize the natural movement of your caramel tones. Wrap sections of hair around the barrel in alternating directions, leaving the ends out for a modern finish. This technique allows light to catch each dimensional layer differently.
Apply heat protectant spray before using any hot tools to preserve your color investment and prevent brassiness. Focus the product on mid-lengths and ends where the caramel highlights are most concentrated. Temperature settings between 300-350°F work best for color-treated hair.
Use a flat iron to create subtle bends that showcase the contrast between your base color and caramel highlights. Take 2-inch sections and gently bend the iron away from your face at random intervals. These soft curves create movement that displays every shade variation.
Finish with texturizing spray to enhance the natural, lived-in appearance that makes balayage so appealing. Scrunch the product into your waves while they’re still warm from styling. This adds grip and separation that highlights individual color sections.
Low-Maintenance Styling Options
Air dry your hair with sea salt spray for effortless texture that emphasizes your caramel dimension. Apply the product to damp hair and scrunch gently with your hands. The natural texture enhances the hand-painted effect without requiring heat tools.
Try the overnight braid method for relaxed waves that showcase your color gradient. Braid slightly damp hair before bed and release in the morning for soft, natural-looking texture. This technique creates movement that catches light beautifully throughout the day.
Use dry shampoo strategically to add volume and texture while extending time between washes. Focus on roots to lift hair away from your scalp, creating more surface area for your highlights to shine. Choose a shade that matches your base color to avoid dulling the caramel tones.
Embrace your natural texture with curl-improving cream for those with wavy or curly hair. Apply the product to damp strands and allow air drying for definition that shows off every caramel highlight. This approach requires minimal effort while maximizing color impact.
Style with a wide-tooth comb while hair is damp to maintain the organic placement of your balayage. Gentle combing preserves the natural fall of your highlights without creating harsh lines. This simple technique keeps your caramel tones looking seamlessly blended.
Maintain Your Caramel Balayage Color Longevity
We need to protect our beautiful caramel investment with the right maintenance routine. Proper care extends the vibrancy and richness of those golden-brown tones we worked so hard to achieve.
Essential Hair Care Products for Color Protection
Color-safe shampoos form the foundation of our caramel balayage maintenance routine. We recommend using sulfate-free formulas that gently cleanse without stripping the delicate color molecules from our hair cuticles. Purple or blue-toned shampoos neutralize unwanted brassiness that can dull our caramel highlights over time.
Deep conditioning masks should become our weekly ritual for maintaining healthy, vibrant color. These treatments replenish moisture lost during the lightening process and seal the hair cuticle to lock in our caramel tones. We suggest applying masks from mid-length to ends, focusing on the highlighted sections that received the most processing.
Leave-in treatments with UV protection shield our caramel balayage from sun damage throughout the day. Heat protectant sprays create a barrier against styling tools while maintaining the integrity of our color. Glossing treatments add shine and refresh the richness of our caramel tones between salon visits.
Color-depositing conditioners help maintain the warmth and depth of our caramel shades at home. These products contain gentle pigments that refresh faded highlights without the commitment of permanent color. We can use them once or twice weekly to boost the golden undertones in our balayage.
Professional Touch-Up Schedule
Root touch-ups typically need attention every 8-12 weeks, depending on our natural hair growth rate. We schedule these appointments when the regrowth reaches approximately one inch, maintaining the seamless blend between our natural color and caramel highlights. Our colorist can assess whether we need full processing or just root blending during these visits.
Gloss treatments should occur every 6-8 weeks to refresh the vibrancy and shine of our caramel balayage. These professional services add depth and richness while smoothing the hair cuticle for enhanced light reflection. We notice immediate improvements in color intensity and overall hair health after each glossing session.
Deep conditioning treatments at the salon complement our at-home care routine every 4-6 weeks. Professional masks penetrate deeper than home treatments, restoring moisture and elasticity to processed hair. Our stylist can customize these treatments based on our hair’s exact needs and condition.
Trim appointments every 10-12 weeks maintain the shape and health of our caramel balayage. Regular cuts remove damaged ends that can make our highlights appear dull or uneven. Fresh ends enhance the movement and dimension of our caramel tones while supporting overall hair health.
Avoid Common Caramel Balayage Mistakes
Professional colorists see the same caramel balayage pitfalls repeatedly in their salons. We’ll help you navigate these challenges to achieve the perfect golden-brown transformation.
Preventing Brassiness and Fading
Brassiness occurs when caramel tones oxidize and develop unwanted orange or yellow undertones. This common issue happens when the lightening process doesn’t lift hair to the proper level before applying caramel tones. We recommend using a toner with violet or blue undertones to neutralize any unwanted warmth immediately after the balayage application.
Fading accelerates when you wash your hair too frequently or use products with harsh sulfates. These chemicals strip the caramel pigments from your hair shaft within just 2-3 washes. Purple or blue-based shampoos help maintain the integrity of your caramel color by counteracting brassy tones that emerge as the color fades.
Excessive heat exposure from styling tools reaches temperatures above 350°F and breaks down caramel molecules in your hair. Heat protectant products create a barrier that reduces color loss by up to 40% during styling sessions. Sun exposure also causes caramel tones to fade rapidly, so UV-blocking hair products become essential for maintaining vibrancy.
Hard water contains minerals like iron and copper that deposit onto your hair shaft and alter caramel tones over time. Installing a shower filter removes these mineral deposits and prevents unwanted color shifts. Color-depositing masks used weekly restore warmth and depth to fading caramel highlights.
Choosing the Wrong Placement Patterns
Strategic placement determines whether your caramel balayage looks natural or artificial. Many stylists make the mistake of painting highlights too close to the scalp, creating an obvious demarcation line that grows out poorly. We position caramel tones starting 2-3 inches from the roots to mimic how sunlight naturally lightens hair.
Symmetrical placement patterns create an unnatural, striped appearance that lacks the organic flow of authentic sun-kissed hair. Professional colorists vary their highlight placement by alternating thick and thin sections throughout different areas of the head. This technique creates visual movement and prevents the blocky appearance that comes from uniform sectioning.
Face-framing highlights require careful consideration of your facial features and bone structure. Placing caramel tones too heavily around the face can create harsh contrasts that emphasize imperfections rather than enhance your natural beauty. Strategic placement focuses on areas where natural sunlight would hit, such as the temples, crown, and outer layers of hair.
Underneath sections often get overlooked during the balayage process, leaving the interior of your hair too dark compared to the surface layers. This creates an unbalanced look when hair moves or gets styled in different ways. Professional application includes subtle caramel placement throughout all hair layers for dimensional results from every angle.
Consider Professional vs. DIY Caramel Balayage
Choosing between professional salon services and at-home kits can significantly impact your caramel balayage results. We’ll explore the key differences to help you make the best decision for your hair transformation.
Benefits of Salon Treatment
Professional colorists bring years of training and experience to your caramel balayage appointment. They understand how different hair types react to lightening agents and can adjust formulas based on your current color and condition. Skilled technicians know exactly where to place highlights for the most flattering face-framing effect and natural sun-kissed appearance.
Custom color formulation ensures perfect caramel tones that complement your skin undertones. Salon professionals mix multiple shades to create depth and dimension rather than relying on a single predetermined color. They can assess whether your hair needs pre-lightening or toning to achieve the desired caramel result without unwanted brassiness.
Advanced techniques and tools produce superior results that are difficult to replicate at home. Professional colorists use specialized brushes and application methods to create seamless blending between your natural color and caramel highlights. They have access to high-quality lightening products that lift color evenly without causing excessive damage.
Immediate problem-solving protects your hair’s integrity when unexpected issues arise during the coloring process. Experienced colorists can quickly adjust timing, add toners, or modify techniques if your hair responds differently than anticipated. Professional supervision ensures that your hair doesn’t become over-processed or damaged during the transformation.
At-Home Kit Limitations and Risks
Limited color options in DIY kits often result in one-dimensional caramel tones that lack the complexity of professional results. Most box kits contain a single shade that may not complement your exact skin tone or hair color. Without custom formulation, you might end up with orange or brassy highlights instead of rich caramel hues.
Application mistakes can create uneven coloring that looks obviously artificial rather than naturally sun-kissed. DIY attempts often result in blocky highlights, missed sections, or over-saturation of certain areas. Without professional sectioning techniques, it’s challenging to achieve the strategic placement that makes balayage look effortless and dimensional.
Chemical processing risks increase significantly when working with lightening products without proper training. Over-processing can cause severe hair damage, breakage, or chemical burns to your scalp. Home kits don’t account for individual hair porosity, previous treatments, or optimal processing times for your exact hair type.
Color correction costs often exceed initial salon investment when DIY attempts go wrong. Professional colorists charge premium rates to fix botched home coloring jobs, sometimes requiring multiple appointments to restore hair health. Attempting to lighten already damaged hair or remove unwanted tones can result in even more costly repair treatments.
Adapt Caramel Balayage for Different Hair Types
Different hair textures require exact techniques to achieve stunning caramel balayage results. We’ll show you how colorists modify their approach based on your unique hair type.
Fine Hair Considerations
Fine hair benefits from strategic caramel placement that creates the illusion of volume and density. We recommend placing highlights closer to the surface layers to maximize visual impact without overwhelming delicate strands.
Gentle lightening formulas protect fine hair from damage during the caramel transformation process. Your colorist should use lower volume developers and shorter processing times to prevent breakage while achieving those golden-brown tones.
Smaller sections work best for fine hair textures since they allow for more precise color control. We suggest triangle sections no wider than half an inch to ensure even saturation and prevent harsh demarcation lines.
Feathering techniques become even more crucial with fine hair to create seamless transitions. Your stylist should use a lighter touch when painting on the caramel lightener to avoid creating heavy, obvious streaks that can appear unnatural on thinner strands.
Lower contrast caramel shades complement fine hair better than dramatic lightening effects. We typically recommend staying within two to three shades of your base color to maintain a natural, sun-kissed appearance that enhances rather than overwhelms your hair texture.
Thick and Coarse Hair Techniques
Thick hair allows for bolder caramel placement and higher contrast between base and highlight colors. We can create more dramatic lighting effects since the hair’s natural density provides a strong foundation for multiple tonal variations.
Sectioning patterns become more complex with thick hair to ensure complete coverage throughout all layers. Your colorist should work in larger triangle sections while maintaining consistent spacing to prevent any areas from being missed during the caramel application.
Higher volume developers may be necessary for coarse hair textures to achieve proper lightening. We often use 30 or 40 volume with thick hair since the dense cuticle structure requires more lifting power to reach the desired caramel tones.
Multiple application rounds create the best results on thick hair for achieving rich caramel depth. Your stylist might apply highlights in two separate sessions to build up the color gradually and ensure even penetration through the hair shaft.
Longer processing times accommodate the slower color absorption rate of coarse hair strands. We typically extend processing by 10 to 15 minutes compared to fine hair to allow the caramel tones to fully develop and create that beautiful golden-brown dimension.
Explore Caramel Balayage Variations and Trends
The evolving industry of caramel balayage offers endless possibilities for customization and seasonal adaptation. These trending variations help you achieve fresh, modern looks while maintaining the warmth and dimension that makes caramel balayage so popular.
Caramel Ribbons and Money Piece Highlights
Caramel ribbons create bold, statement pieces throughout your hair using concentrated bands of color. We apply these thicker sections strategically around the perimeter and through interior layers to frame your face dramatically. Professional colorists place ribbons at varying widths from 1 to 3 inches to create visual interest and movement.
Money piece highlights focus exclusively on the front sections that frame your face. Stylists paint these face-framing pieces with lighter caramel tones, typically 2-3 shades brighter than your base color. These highlights extend from your hairline to approximately ear level, creating an illuminating effect that brightens your complexion instantly.
Placement techniques for these variations require precision and artistry. Colorists select sections based on your face shape, with oval faces accommodating wider ribbons and round faces benefiting from narrower, more vertical placements. The money piece technique works exceptionally well with layered cuts, as the highlights flow naturally through each layer.
Maintenance schedules for ribbon and money piece variations differ from traditional balayage. Touch-ups occur every 6-8 weeks due to the concentrated color placement near your roots. We recommend using purple shampoo weekly to prevent brassiness in the lighter sections while maintaining the rich caramel depth.
Seasonal Color Adjustments
Summer adaptations brighten your caramel balayage with golden undertones and sun-kissed highlights. Colorists add honey and wheat tones throughout June and August to mimic natural lightening from increased sun exposure. Beach-inspired techniques include adding vanilla ribbons and butter highlights for maximum brightness.
Fall transitions deepen caramel tones with cinnamon and bronze undertones. We incorporate espresso lowlights and mocha ribbons to create warmth and richness during September through November. These deeper variations complement autumn wardrobes and provide cozy, sophisticated appeal.
Winter modifications add cool-toned caramel shades with subtle ash undertones. Stylists blend maple and toffee hues with neutral bases to prevent harsh contrasts against winter skin tones. December through February applications often include chocolate lowlights for added depth and dimension.
Spring refreshers restore vibrancy with caramel gloss treatments and strategic highlight placement. Colorists refresh faded sections with honey and butterscotch tones while adding face-framing pieces. March through May appointments focus on repairing winter damage while preparing hair for summer lightening.
Conclusion
We’ve explored why caramel balayage remains one of the most sought-after hair color trends today. This versatile technique offers endless possibilities for customization while maintaining that effortlessly beautiful look we all crave.
Whether you’re considering your first balayage or looking to refresh your current color we hope this comprehensive guide helps you make informed decisions about your hair transformation. Remember that investing in professional application and proper maintenance will ensure your caramel tones stay vibrant and dimensional.
The beauty of caramel balayage lies in its ability to enhance your natural features while giving you that sun-kissed glow year-round. With the right care routine and occasional touch-ups your caramel highlights will continue to turn heads and boost your confidence for months to come.
Frequently Asked Questions
What is caramel balayage?
Caramel balayage is a hand-painted hair coloring technique that creates golden-brown highlights throughout the hair. This French method, developed in the 1970s, involves painting color directly onto hair sections without using traditional foils. The result is a natural, sun-kissed look that mimics how hair naturally lightens in sunlight, creating depth and dimension.
How long does caramel balayage last?
Caramel balayage typically lasts 8-12 weeks before requiring root touch-ups. The technique is known for its low-maintenance nature because it grows out gracefully without harsh lines. Gloss treatments are recommended every 6-8 weeks to maintain vibrancy, while deep conditioning should be done every 4-6 weeks to keep hair healthy.
Can caramel balayage work on all hair colors?
Yes, caramel balayage works on various hair colors and types. It can brighten brunette hair or add warmth to blonde locks. The technique is versatile enough to complement different skin tones, with colorists able to customize the shade intensity and placement to enhance your natural features and existing hair color.
How do I choose the right caramel shade for my skin tone?
Caramel shades are categorized into warm, cool, and neutral tones. Warm undertones suit golden and peachy skin, cool undertones complement pink and blue-based skin, while neutral shades work for balanced complexions. Consult with a professional colorist who can assess your skin tone and recommend the most flattering caramel shade.
Should I get caramel balayage done professionally or try a DIY kit?
Professional salon services are strongly recommended for caramel balayage. Trained colorists can customize color formulations, apply advanced techniques, and ensure proper lightening without damage. DIY kits often result in uneven application, one-dimensional results, and potential hair damage that may require costly professional color correction.
How should I prepare my hair for caramel balayage?
Prepare by scheduling a consultation with a colorist and documenting any previous chemical treatments. Start deep conditioning treatments beforehand, avoid washing hair 24-48 hours before your appointment, and trim damaged ends. Refrain from using clarifying shampoos and excessive heat styling to ensure your hair is in optimal condition.
What’s the best way to maintain caramel balayage at home?
Use sulfate-free, color-safe shampoos and apply deep conditioning masks weekly. Incorporate leave-in treatments with UV protection and color-depositing conditioners to maintain warmth. Avoid frequent washing with harsh products, and use dry shampoo for volume between washes. Regular trims every 10-12 weeks help maintain hair health.
Does caramel balayage work on fine hair?
Yes, caramel balayage can enhance fine hair when applied correctly. For fine hair, colorists use gentle lightening formulas and place highlights closer to surface layers to create the illusion of volume. Smaller sections and precise color control ensure the technique doesn’t overwhelm thin hair while still providing beautiful dimension.
How is caramel balayage different from traditional highlights?
Caramel balayage uses a hand-painted technique without foils, creating a more natural, graduated effect. Unlike traditional highlights that can appear striped or uniform, balayage creates varying tones and dimensions. The freehand application allows for customized placement that follows your hair’s natural fall and movement patterns.
Can I style my hair normally after getting caramel balayage?
Yes, you can style your hair normally, but use heat protectant spray when using styling tools. The balayage technique actually enhances various styling options – loose waves and subtle bends showcase the color dimension beautifully. For low-maintenance styling, try air-drying with sea salt spray or overnight braiding for natural texture.

