Transforming blonde hair to a rich brown shade can completely revitalize your look and boost your confidence. We’ll guide you through the process step-by-step, ensuring you achieve stunning results without damaging your precious locks.
Ready to embrace the brunette life? Whether you’re looking for a seasonal change, wanting to cover grays, or simply craving a dramatic transformation, dyeing blonde hair brown requires exact techniques to prevent unwanted green or ashy tones. We’ve gathered the best professional tips and product recommendations to help you achieve that perfect chocolate, chestnut, or caramel brown you’ve been dreaming about.
Preparing Your Hair for Color Transformation
Before diving into your blonde-to-brown transformation, proper preparation is essential for achieving natural-looking results and maintaining hair health. Taking time to assess and prepare will ensure your color journey is smooth and successful.
Assessing Your Current Blonde Shade
Your starting point plays a crucial role in determining how to proceed with the dyeing process. Platinum blondes will need different formulations than honey or strawberry blondes. Examine your hair in natural light to accurately identify your current shade. Look closely at undertones—cool blondes often have ashy or silver undertones, while warm blondes feature golden or yellowish tints. Recently bleached hair might require additional conditioning treatments before coloring. Professional colorists typically categorize blonde hair on a level system ranging from 8 (medium blonde) to 10 (lightest blonde). Understanding your current level helps in selecting the appropriate brown dye formula. Previous chemical treatments such as highlights, balayage, or ombré will also affect how your hair accepts new color, potentially creating uneven results if not properly addressed.
Determining Your Target Brown Color
Selecting the perfect brown shade depends on multiple factors including your skin tone, eye color, and personal style preferences. Warm skin tones with yellow or golden undertones typically complement auburn, chestnut, or caramel browns. Cool skin tones with pink or bluish undertones generally look stunning with ash, espresso, or cool chocolate browns. Olive skin tones can beautifully carry both warm and cool browns but often shine best with rich mocha or walnut shades. We recommend browsing through color swatches or digital apps that allow virtual try-ons before committing. Consider your lifestyle and maintenance preferences too—darker browns typically require less frequent touch-ups than lighter shades. Seasonal changes might also influence your choice, with many people opting for deeper browns in fall/winter and lighter, more sun-kissed browns during spring/summer. Take into account how different lighting conditions will affect your chosen color—what looks perfect in bright daylight might appear differently under indoor lighting.
Choosing the Right Brown Hair Dye for Blonde Hair
When transitioning from blonde to brown hair, selecting the appropriate dye is crucial for achieving natural-looking results. Blonde hair typically lacks the red undertones present in brown hair, which can lead to undesirable color outcomes if not addressed properly.
Understanding Hair Dye Levels and Undertones
Hair dye levels indicate how light or dark a color is, with level 1 being black and level 10 being the lightest blonde. Blonde hair generally sits at levels 7-10, while brown shades range from levels 3-6. The gap between your current blonde and desired brown level determines the complexity of your dyeing process. For changes of only 1-2 levels, direct application may work effectively. More dramatic transformations require additional preparation steps to ensure success.
Undertones play a vital role in achieving a natural-looking brown color. Brown hair contains a balance of all three base colors (red, yellow, and blue), while blonde hair typically lacks sufficient red pigment. Without addressing this imbalance, your newly dyed brown hair might develop unwanted greenish or grayish tones. We recommend using a filler with copper red or golden undertones before applying brown dye, essentially restocking your hair with the missing red pigment for a more balanced result.
Selecting Between Permanent, Semi-Permanent, and Demi-Permanent Options
Permanent hair dye offers the most dramatic and long-lasting results for blonde to brown transformations. This option penetrates the hair shaft deeply, completely altering your hair color until it grows out. Permanent dyes work best for important color changes but may cause more damage, especially if your blonde hair has been previously bleached or is highly porous.
Semi-permanent dyes provide a gentler alternative that gradually fades after 8-12 washes. These ammonia-free formulations coat the outside of the hair shaft rather than penetrating deeply. Semi-permanent options cause minimal damage but might not deliver sufficient color payoff when going from blonde to brown, particularly for lighter blonde shades requiring important darkening.
Demi-permanent formulas strike a balance between the previous two options, lasting through about 24-28 washes. They contain low levels of ammonia or similar ingredients, allowing for moderate penetration of the hair shaft. Demi-permanent dyes offer reasonable color longevity while being less damaging than permanent options, making them ideal for first-time brown hair experimenters who want noticeable results without full commitment.
Gathering Essential Supplies for Dyeing Blonde Hair Brown

Before transforming your blonde locks to a beautiful brown shade, we need to ensure you have all the necessary supplies. Proper preparation with the right tools makes the dyeing process smoother and more successful.
Hair Dye and Fillers
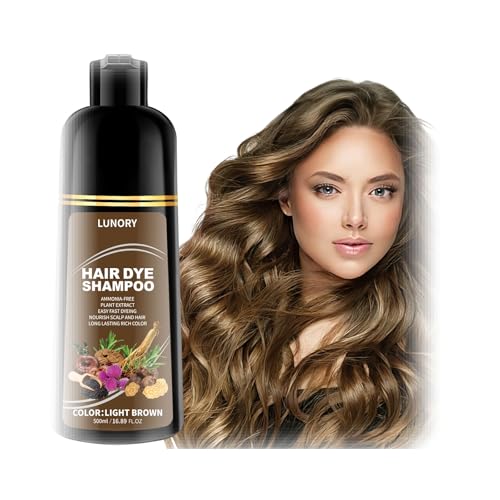
When selecting hair dye for your blonde to brown transformation, choose a shade that complements your desired brunette color. The right brown hair dye is essential for achieving natural-looking results without unwanted tones. For transitions more than two shades darker, a color filler becomes necessary to prevent your hair from developing green or gray tones.
Color fillers containing copper red or golden undertones are crucial as they replace the missing red pigment in blonde hair. This replacement helps ensure your final brown color appears natural rather than ashy or muddy. Developers typically come in different volumes (10, 20, etc.), and your selection should align with how much lift and color deposit you want to achieve.
Hair Dye Application Tools
Several tools are essential for applying hair dye evenly and effectively:
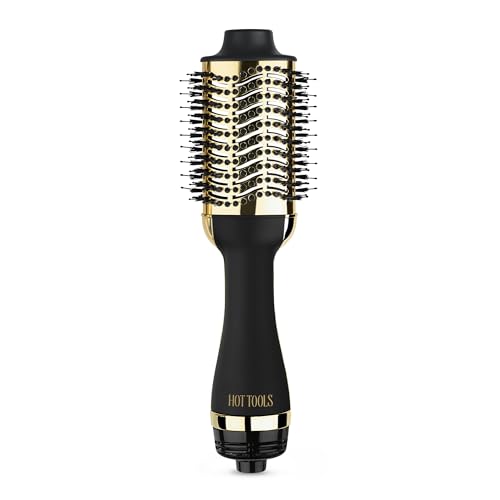
- Hair Dye Brush or Applicator – Ensures smooth and even application throughout your hair
- Plastic Gloves – Protects your hands from staining and chemical exposure
- Tint Brush – Allows precise application around sensitive areas like your hairline and roots
- Measuring Cups or Tint Bottles – Helps you mix the dye and developer in correct proportions
- Developer – Works with the dye to open hair cuticles and deposit color effectively
Having these specialized tools ready before starting the dyeing process will help you achieve professional-looking results at home.
Protective Items for Skin and Clothing
Dyeing your hair can get messy, so protective items are necessary to prevent stains:
- Old Towels or Cloths – Place these around your shoulders or on surfaces that might get stained
- Plastic Cape or Apron – Shields your clothing from dye splatters and drips
- Barrier Cream – Apply this around your hairline, ears, and neck to prevent skin staining
- Shower Cap – Keeps the dye concentrated on your hair while preventing it from dripping
Also, consider having a conditioning treatment on hand if your blonde hair is damaged or particularly porous. Assessing your hair’s condition beforehand is important, as uneven or damaged blonde hair may require special preparation to ensure the brown dye takes evenly across all strands.
Pre-Dyeing Steps to Ensure Even Color Results

Transitioning from blonde to brown hair requires careful preparation to achieve beautiful, even results. Without proper pre-dyeing steps, you might end up with unwanted green or gray tones instead of the rich brown shade you desire.
Performing a Strand Test
A strand test is absolutely essential before applying brown dye to your entire blonde head. Select a small section of hair from an inconspicuous area, preferably underneath or at the nape of your neck, to test how the color will develop. Apply both the filler and brown dye to this test strand according to the product instructions. Wait the full recommended processing time, then rinse the strand thoroughly to evaluate the color results. This critical step helps you determine if you’ll achieve your desired brown shade and allows you to make adjustments to your technique or products before committing to a full application. Many blonde-to-brown transformations fail simply because people skip this vital testing phase.
Preparing Your Hair with Protein Fillers
Protein fillers play a crucial role in creating the perfect canvas for your new brown color. Blonde hair, especially if it’s been bleached or lightened extensively, often lacks the necessary structure and pigments needed for brown dye to adhere properly. Apply a protein treatment to damaged or porous hair before dyeing to repair the hair structure and improve color receptivity. Look for color fillers containing copper red or golden undertones, such as Vesuvius Red, which help restock the red pigments naturally missing in blonde hair. These fillers not only add the necessary warm undertones but also provide a protein base that strengthens your hair, creating optimal conditions for the brown dye to develop evenly. For extremely porous blonde hair, consider a deep conditioning treatment before applying any color to ensure the new brown shade doesn’t look patchy or fade unevenly.
Step-by-Step Guide to Applying Brown Dye to Blonde Hair
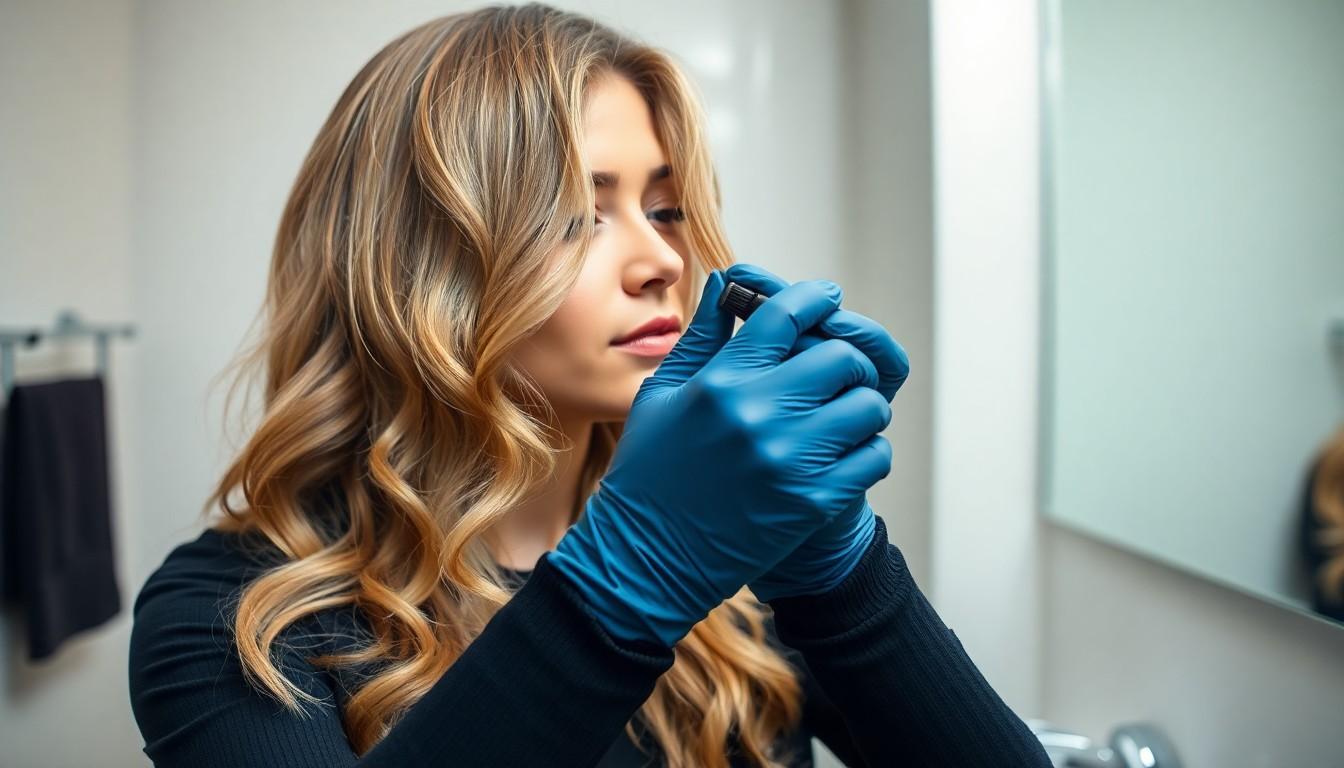
Transforming blonde hair to brown requires careful application to ensure even, natural-looking results without unwanted green or gray tones. Follow these expert techniques to achieve your desired brown shade successfully.
Mixing the Hair Color Formula
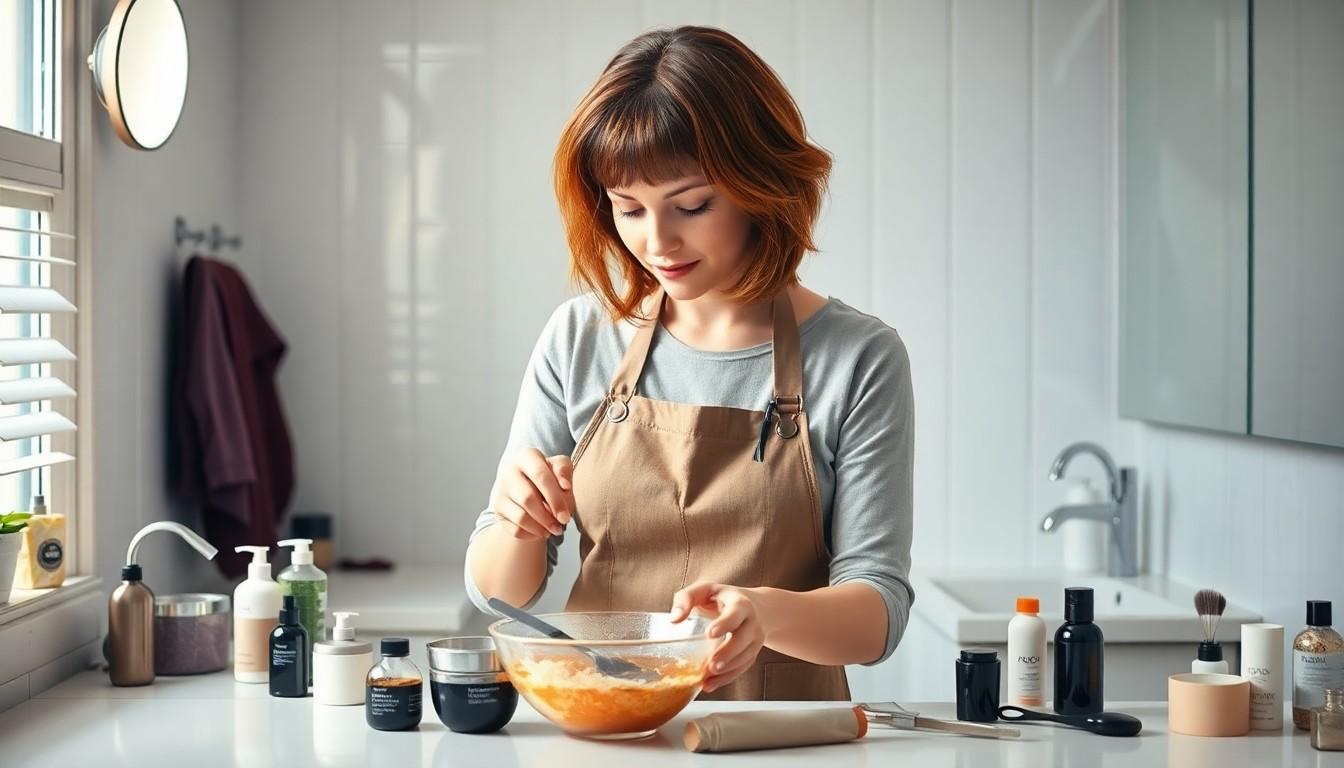
Creating the perfect color formula is crucial when dyeing blonde hair brown. Select a brown dye that matches your desired shade, keeping in mind that going more than two shades darker requires special consideration. Opt for warmer brown dyes when making dramatic color changes to prevent unnatural results. Pay close attention to the undertones in your chosen dye, ensuring it contains the right balance of red, yellow, and blue base colors to complement your skin tone. Remember that blonde hair lacks red pigments naturally found in brown hair, so your formula should address this deficiency to achieve a rich, dimensional brown. Measure all components precisely according to the manufacturer’s instructions to maintain color consistency throughout your application.
Sectioning and Application Techniques
Proper sectioning creates the foundation for even dye distribution and professional-looking results. Divide your hair into four main sections—two in front and two in back—using clips to keep each section separated and manageable. Apply the color fill first if you’re using one, focusing particularly on areas requiring the most pigment adjustment to create a suitable base for your brown dye. Work methodically from section to section, starting at the roots where processing typically takes longer. Use a hair dye brush for precise application, ensuring each strand receives thorough saturation without excessive product buildup. Take extra care with the ends of your hair, which often absorb color more readily due to porosity. Maintain clean part lines between sections to track your progress and prevent any areas from being missed during application.
Processing Time and Temperature Considerations
Monitoring processing time carefully prevents over-processing and ensures optimal color development. Follow the exact timing recommendations provided with your dye kit, which typically ranges from 20 to 45 minutes depending on your hair’s thickness and the product formulation. Maintain room temperature during the processing period, as excessive heat can accelerate color development unpredictably and lead to uneven results. Avoid using heated styling tools or sitting in direct sunlight while the dye processes. Perform a periodic strand test by wiping a small section of dye away to check color development if you’re concerned about timing. Apply a deep conditioning treatment immediately after rinsing the dye to restore moisture and seal the cuticle, improving color longevity and shine. This final step helps counteract any dryness from the dyeing process while promoting a healthy, vibrant finish to your newly brown hair.
Rinsing and Post-Dye Hair Care
Proper rinsing and aftercare are crucial steps that determine how well your new brown color sets and lasts. We’ve outlined the essential techniques to ensure your transition from blonde to brown stays vibrant and healthy.
Proper Rinsing Techniques
Thorough rinsing is essential for removing excess dye and preventing color bleeding. Always rinse your hair with warm water until it runs completely clear, which might take several minutes depending on your hair length. After the initial rinse, switch to cool water for your final rinse to seal the hair cuticles and lock in your new brown shade. Cool water helps close the microscopic scales on each strand, trapping the color molecules inside for longer-lasting results. Remember to be patient during this process, as rushing through rinsing can lead to premature color fading or uneven color development.
Using Color-Safe Products
Investing in quality color-safe products is non-negotiable for maintaining your new brown color. Select shampoos and conditioners specifically formulated for color-treated hair, as these contain gentler cleansing agents that won’t strip away your fresh color. Avoid washing your hair for at least 48 hours after dyeing to allow the color to fully set. When you do wash, use lukewarm or cool water rather than hot water, which can quickly fade your color by opening the cuticle and allowing dye molecules to escape.
Regular conditioning treatments are particularly important if your hair was previously bleached or lightened, as these processes can leave hair more porous and prone to color fading. Deep conditioning masks applied weekly can restore moisture balance and help maintain color vibrancy. For the first few weeks after dyeing, minimize heat styling to prevent additional damage and color fading. Color-protecting serums and leave-in treatments containing UV filters offer extra protection against environmental factors that can dull your beautiful new brown shade.
Troubleshooting Common Issues When Going from Blonde to Brown

Even with careful preparation, transitioning from blonde to brown hair can present some challenges. Let’s explore how to address the most common issues that might arise during this color transformation.
Addressing Brassy or Green Tones
Brown dye applied to blonde hair often develops unwanted green or brassy tones due to the absence of red pigments. Hair filling is essential before applying brown dye, as it restocks the missing red undertones in your hair. We recommend pre-dyeing with copper red or golden shades to create a foundation that ensures the brown color adheres correctly and looks natural. Many professional colorists consider this step non-negotiable when going from blonde to brown, especially with a important color change.
Selecting warmer brown dyes can effectively counteract potential greenish tones in your newly colored hair. These warmer formulations contain more red and golden undertones that balance out the final color result. Ash-toned brown dyes should generally be avoided when transitioning from blonde, as they can exacerbate the greenish cast that often occurs. For previously platinum or heavily bleached hair, a color correction appointment with a professional might be the safest approach to avoid these unwanted tones.
Fixing Patchy or Uneven Color Results
Hair condition significantly impacts how evenly your new brown color will develop. Severely damaged or porous hair, particularly from bleaching processes, requires conditioning treatments before dyeing to improve color absorption uniformity. Apply a protein-rich deep conditioner or bond-building treatment 3-5 days before coloring to help normalize porosity throughout your hair.
Uneven initial lightening can lead to patchy brown results, with some areas absorbing more color than others. A thorough assessment of your current blonde shade is crucial, paying special attention to any visible bands or inconsistencies before applying brown dye. Professional colorists often examine hair in natural lighting to identify these potential problem areas.
The reverse balayage technique offers an effective strategy for achieving more natural-looking brown hair. This method involves applying the darkest shade to your roots first, then strategically placing medium or lighter brown shades on selected strands. This dimensional approach creates depth and movement while minimizing the appearance of any potential patchiness.
Multiple applications may be necessary when transitioning more than two shades darker. Rather than attempting to go from blonde to dark brown in one session, consider breaking the process into 2-3 separate dyeing sessions spaced 2-3 weeks apart. This gradual approach allows your hair to adjust to the new pigments and results in a more even, natural-looking color while minimizing potential damage to your hair.
Maintaining Your New Brown Hair Color
After successfully dyeing your blonde hair to a beautiful brown shade, proper maintenance becomes crucial to preserve that rich, vibrant color and keep your hair looking its best.
Color-Preserving Hair Care Routine
Color-protecting shampoo and conditioner form the foundation of an effective maintenance routine for your newly brown hair. These specialized products help lock in color molecules while providing essential moisture that brown-dyed hair often needs. Washing your hair with warm or cool water rather than hot water prevents premature color fading, as hot water opens the cuticle and allows dye to escape. Heat styling tools can significantly damage your color-treated hair, so reducing their use or always applying a heat protectant spray beforehand will protect your investment. Regular trims every 6-8 weeks help maintain healthy ends and prevent splitting, which can make your brown color appear dull and lifeless. Incorporating weekly deep conditioning treatments specifically formulated for colored hair will nourish your strands and enhance the richness of your brown shade.
Touch-Up Strategies Between Full Colorings
Root touch-ups become necessary as your natural hair grows approximately half an inch per month, creating a visible contrast with your brown dye job. Professional colorists recommend addressing roots every 4-6 weeks using a matching dye shade applied only to the new growth area. Toning treatments play a crucial role in maintaining vibrant brown hair, as they help neutralize unwanted undertones that may develop over time due to sun exposure or product buildup. Conditioning treatments containing color-depositing formulas can refresh your brown shade between appointments while simultaneously strengthening hair that may have been weakened during the blonde-to-brown transition. Purple or blue shampoos, contrary to common belief, aren’t just for blondes—they can help keep certain brown shades from developing brassy or reddish tones, especially if you have a cool-toned brown color. Strategic placement of lowlights by your stylist can create dimension and disguise growing roots, extending the time between full color applications.
Professional vs. DIY: When to Seek Salon Help
Transitioning from blonde to brown hair can be a rewarding DIY project when you follow proper techniques and use the right products. We’ve walked you through the essential steps from preparation to maintenance to help you achieve that perfect brown shade at home.
But there are situations when professional help is best. If your hair is severely damaged bleached multiple times or if you’re aiming for a dramatic color change consider consulting a professional colorist. They can assess your hair’s condition and create a customized color strategy.
Remember that patience is key in any color transformation. With proper care and maintenance your new brown locks will look vibrant and healthy while complementing your unique features. Embrace your new look with confidence!
Frequently Asked Questions
Why should I consider dyeing my blonde hair brown?
Transitioning from blonde to brown can revitalize your look and boost confidence. Brown hair often appears healthier and more dimensional than blonde, while requiring less maintenance. It’s also an excellent way to give damaged hair a break from bleaching, allowing it to recover while still looking fresh and stylish.
Do I need a filler when dyeing blonde hair brown?
Yes, in most cases. Blonde hair lacks red undertones that are naturally present in brown hair. Without a filler containing copper red or golden undertones, your brown dye may result in unwanted green or ashy tones. This is especially important when going more than two levels darker than your current blonde shade.
Can I dye my blonde hair brown at home?
Yes, but proceed with caution. While it’s possible to achieve great results at home, the process is more complex than typical color changes. Success depends on proper preparation, choosing the right products, and following application techniques carefully. Always perform a strand test first and consider consulting a professional for significant transformations.
What type of hair dye should I use to go from blonde to brown?
For blonde to brown transitions, demi-permanent dye offers the best balance of color longevity and minimal damage. Permanent dye provides longer-lasting results but may cause more damage, while semi-permanent options may not deliver sufficient color payoff for significant transformations. Choose based on your desired commitment level and hair condition.
How do I prevent my brown hair from looking green or ashy?
Use a color filler with warm (copper or golden) undertones before applying brown dye. Choose warmer brown shades rather than ash-based colors. For level 7-10 blondes going to level 3-6 browns, the missing warm pigments must be replaced first to create a balanced foundation for your brown color.
How long should I wait between bleaching and dyeing my hair brown?
Wait at least two weeks after bleaching before dyeing your hair brown. This allows your hair to recover and rebuild some protein structure, resulting in more even color absorption. If your hair is severely damaged, consider using bond-building treatments and waiting longer to ensure the brown dye takes evenly.
Should I wash my hair before dyeing it brown?
Don’t wash your hair for 1-2 days before dyeing. Natural oils protect your scalp and help achieve more even color results. However, ensure your hair is free from heavy products, dry shampoo, or styling residue that could create barriers to color penetration. A clarifying treatment a week before dyeing can help remove buildup.
How do I maintain my new brown hair color?
Use color-protecting shampoos and conditioners specifically formulated for color-treated hair. Wash with lukewarm or cool water, not hot. Apply weekly deep conditioning treatments to maintain shine and vibrancy. Limit heat styling and always use heat protectants. Touch up roots every 4-6 weeks and consider color-depositing conditioners to extend color freshness.
What if my brown hair color turns out too dark?
If your brown color is too dark, try a color-removing shampoo or clarifying treatment. Washing with a mixture of dandruff shampoo and baking soda can gently fade the color. For more significant corrections, wait 7-10 days before seeking professional help rather than immediately attempting another chemical process, which could damage your hair.
How can I fix patchy or uneven brown color results?
Address uneven areas by first deep conditioning your hair to normalize porosity. For minor unevenness, try a color-depositing conditioner in your brown shade. For more significant issues, apply dye only to the patchy areas using a precise application technique. If problems persist, consult a professional colorist who can use specialized techniques like lowlights or balayage to blend uneven areas.


